Diamond Block Retaining Wall

After just a couple of weeks in the home, this side of the home just kept bugging me. I have been anxious to get the back yard started, but I keep running into many issues because of the inability to get machinery back there. I got a quote from a local landscape company to put in a retaining wall at $20,000 (In other words, they have better work elsewhere). So I decided to stretch my DIY skills a bit and attempt a small retaining wall. After some research, I decided to go with the diamond block wall because of the ability to just start stacking and not having to deal with concrete etc. The diamond block is more expensive, but less labor intensive and does not require concrete mixing etc. (Diamond Block $3.94 each, vs Cinder Block $2.00 each). I used my good ole' Family Handyman magazine as a guide for my
retaining wall design.
 |
| I put in a couple of stakes for my proposed excavation. Then painted a line so the excavator could see where to go. |
 |
| View from the rear |
I hired a nice retired gentlemen who charges $40/hr for him and his tractor, it was a great deal. However, the minute we started digging, we noticed how loose the soil was and that there was flash flood warnings for this weekend so we had to change our plans and build the wall as we excavated it. This made it extremely difficult because I couldn't lay out the entire first row along with my drain line and landscape fabric. He would dig out an 8' section then I would lay my rock, stamp it down, level it, then start my block then back fill.
 |
| I set up a guide to keep my wall straight and consistent by using a tightened piece of string that went horizontal between my two stakes I put in, then suspending two other pieces of string with weights. I tied the strings using a taught line which allowed me to adjusted the height as the wall was built. |
About 25' in, we started hitting solid rock (sandstone) so, in order to save time and money, I decided it was best to bring the wall in a bit. I wished I would have curved the wall into the mountainside where I started in order to give it a better finished look. I was able fix it a little though after I finished.
 |
| The other challenge to building the wall in pieces was adding the backfill at a higher level than I wanted to. I used pebble rock which actually did really well filling in the tight spaces. |
 |
| After getting around the large rock, the slope was much less intense and it was much easier to get the full first row set, level, and straight. |
 |
| The rubber mallet and small level were the best tools to help get the first row set. After the first row is set, the wall is very easy. I used my dolly to transport those heavy blocks (64 lbs a piece). |
 |
| Even though I had to come back in on the wall, It is nice to have some usable space. |
I used a total of 400 blocks which was about $1,500. The total cost of this retaining wall including the backhoe tractor labor was a little under $2,000, 1/10 of the cost of a landscape company.
 After just a couple of weeks in the home, this side of the home just kept bugging me. I have been anxious to get the back yard started, but I keep running into many issues because of the inability to get machinery back there. I got a quote from a local landscape company to put in a retaining wall at $20,000 (In other words, they have better work elsewhere). So I decided to stretch my DIY skills a bit and attempt a small retaining wall. After some research, I decided to go with the diamond block wall because of the ability to just start stacking and not having to deal with concrete etc. The diamond block is more expensive, but less labor intensive and does not require concrete mixing etc. (Diamond Block $3.94 each, vs Cinder Block $2.00 each). I used my good ole' Family Handyman magazine as a guide for my retaining wall design.
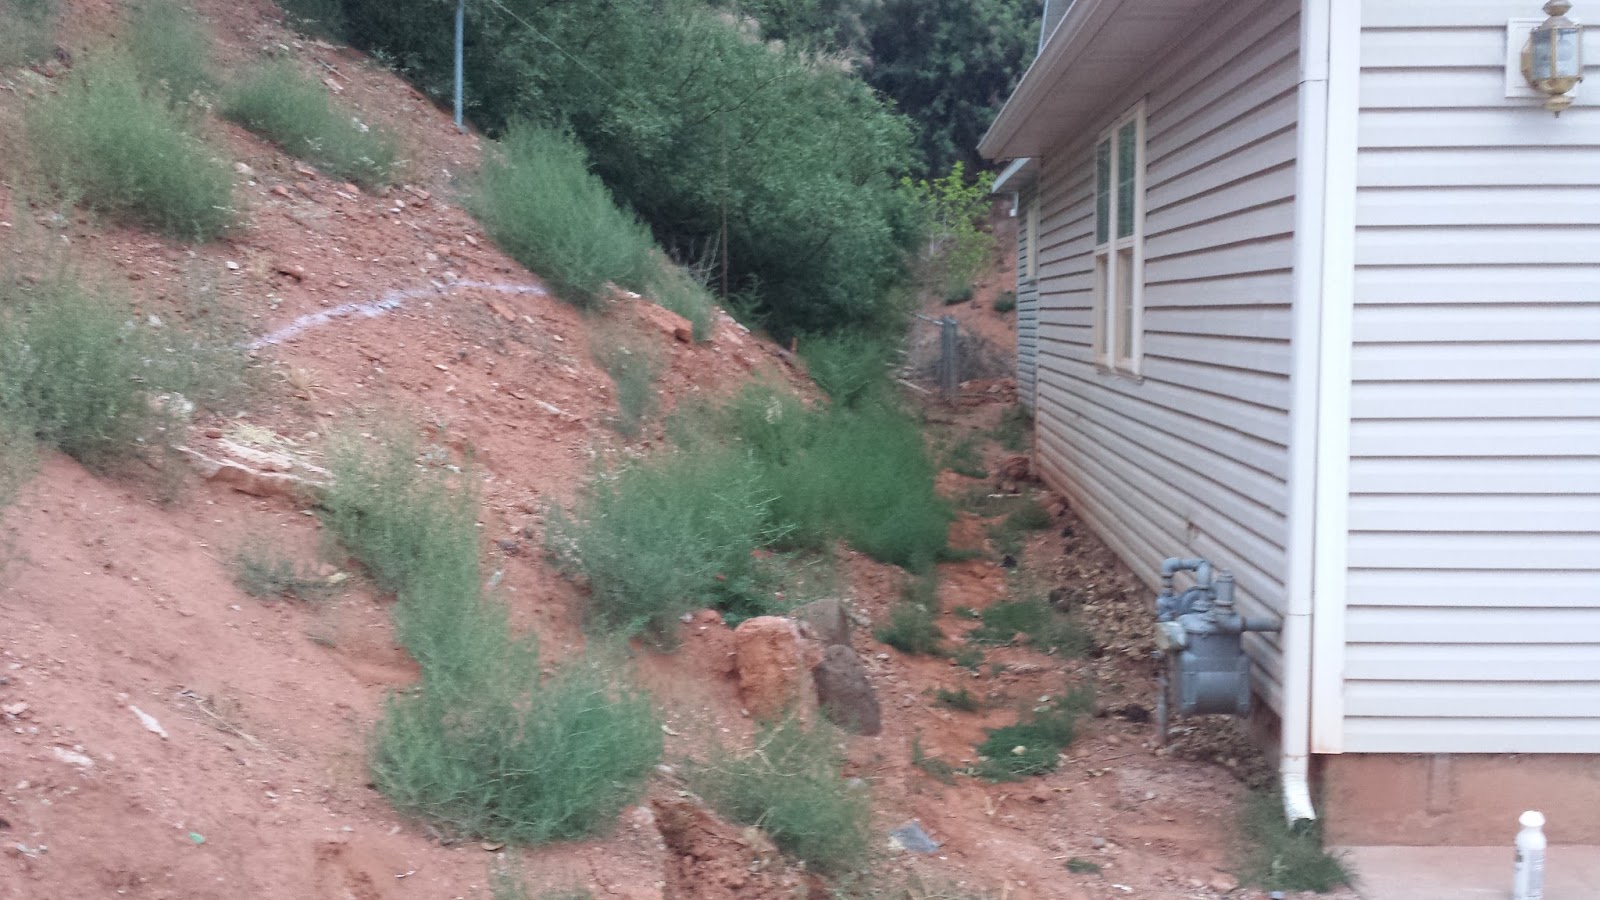


Comments
Post a Comment